When building a successful website or online store, webmasters invest countless hours perfecting their keyword strategy, drafting comprehensive paragraphs, and building clean internal linking structures. Yet, one of the most powerful traffic channels on the internet is frequently treated as an afterthought: Image SEO.
Every photograph, product mockup, diagram, and screenshot you publish represents an independent entry point into Google Search. When executed correctly, image optimization doesn’t just speed up your page load times—it captures high-intent organic traffic directly from Google Image Search.
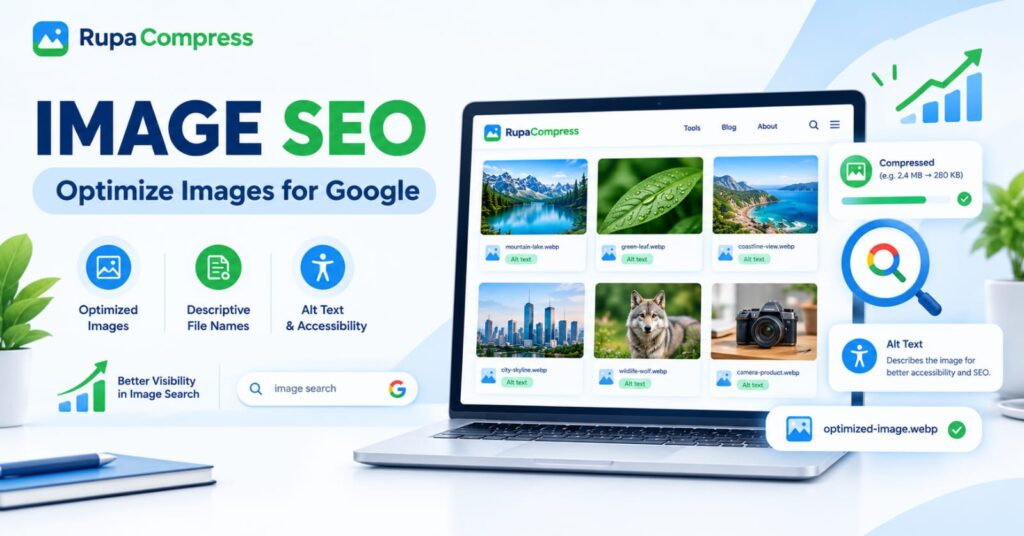
As illustrated in our masterclass graphic above, successful image optimization relies on three foundational pillars: Optimized Images, Descriptive File Names, and Alt Text & Accessibility.
In this comprehensive masterclass guide, we will connect all the dots, providing a definitive checklist to help you optimize every visual on your website for maximum search visibility.
Why Image SEO Matters More Than Ever
Search engine optimization has evolved rapidly. Today, Google’s algorithms do not just look at text strings on a page; they evaluate user experience, page speed, mobile responsiveness, and visual context holistically.
- Capturing Visual Search Traffic: Millions of searches every day begin and end in Google Images. Whether shoppers are looking for fashion products, recipes, travel destinations, or technical diagrams, visual search drives high-conversion visitors.
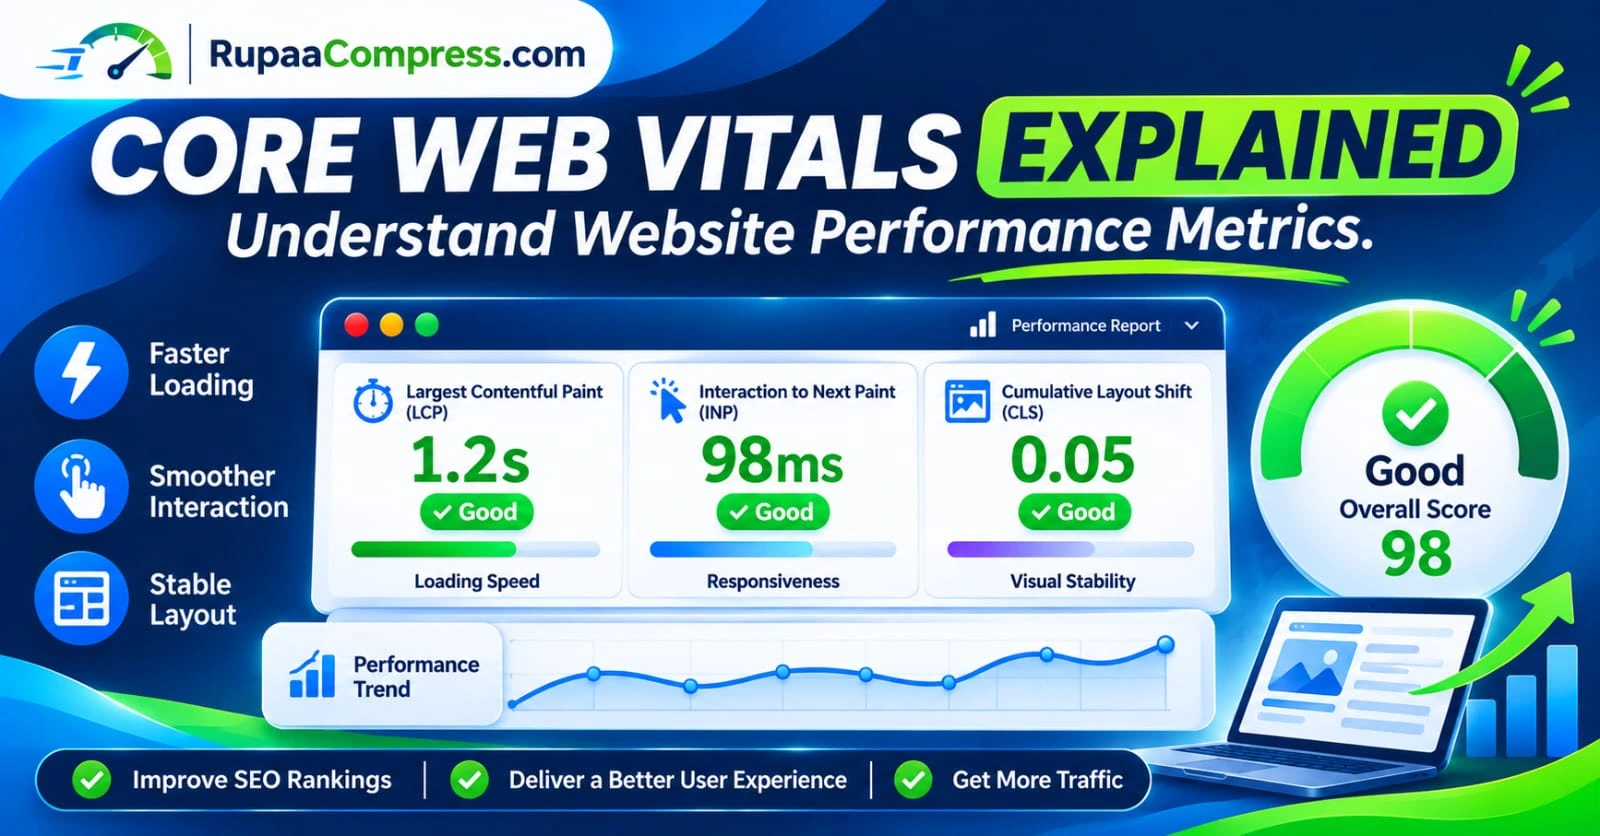
- Passing Core Web Vitals: Heavy, unoptimized images are the number one cause of failed Largest Contentful Paint (LCP) scores. Optimizing your images ensures your site passes Google’s strict speed thresholds.
- Enhancing Accessibility (A11y): Good image SEO directly benefits screen reader users, making your website inclusive, compliant, and legally robust.
Step 1: Technical Optimization (Optimized Images)
Before search engines can index your images, human visitors have to download them smoothly. Technical optimization ensures your visuals load instantly without draining bandwidth.
- Shrink File Weights: Never upload raw multi-megabyte camera files directly to your CMS. Use the Compress Image tool on RupaaCompress to reduce file weight into a lean kilobyte range (for instance, compressing a heavy 2.4 MB original photo down to 280 KB).
- Embrace Next-Gen Formats: Convert legacy PNGs and standard JPGs into modern formats like WebP or AVIF, which offer superior compression. Read our guides on what WebP is and why you should use it and the best image format for websites in 2026.
- Resize to Exact Layout Dimensions: Match your image dimensions to your website column width using the Resize Image tool on RupaaCompress, or use our Crop to Square guide for uniform product grids.
- Strip Hidden EXIF Metadata: Protect your privacy and remove dead weight by cleaning your photo metadata locally using our tutorial on how to remove EXIF data from photos.
Step 2: Contextual Signals (Descriptive File Names)
Google’s crawlers read your image filenames as their very first clue regarding what a picture depicts.
- Avoid Generic Names: Uploading files named
IMG_1049.JPGorscreenshot-draft-final.pnggives search engines zero context. - Use Hyphenated Keywords: Name your files using lowercase letters and hyphens before uploading—such as
mountain-lake.webp,green-leaf.webp, orcoastline-view.webp(as shown in our masterclass dashboard). Clean filenames reinforce topical relevance across search results.
Step 3: Accessibility & Inclusion (Alt Text & Accessibility)
Alt text bridges the gap between pixels and text-based crawlers, ensuring your site is accessible to screen reader users and fully indexable by Google.
- Be Concise and Accurate: Write a natural, single-sentence description of the image content and function (under 125 characters).
- Avoid Keyword Stuffing: Never cram unrelated keywords into your alt attribute. Keep it strictly relevant to the visual (e.g., “Mountain lake landscape” or “A person using an online image compressor”).
- Leave Decorative Images Blank: Use empty alt attributes (
alt="") for purely decorative shapes or background dividers so screen readers can silently skip them.
Step 4: Surrounding Context & Quality Content
An optimized image must live within a relevant, high-quality article. Google evaluates the text surrounding your images, your heading structure (H1, H2, H3), and your page topic to confirm contextual relevance. Use original photographs and custom graphics whenever possible to stand out from generic stock photography.
Frequently Asked Questions (FAQs)
1. What is the most important part of image SEO?
Both technical performance (file compression and WebP formatting) and contextual signals (alt text and descriptive filenames) are equally important. One makes your site fast; the other tells Google what the image is about.
2. Can I optimize images for free?
Yes! You can batch-compress, resize, and convert your images 100% locally in your browser using the free tools on RupaaCompress.
3. Does WebP format improve SEO?
Yes. WebP files are significantly smaller than traditional JPG or PNG files, which directly improves page speed, LCP scores, and mobile search rankings.