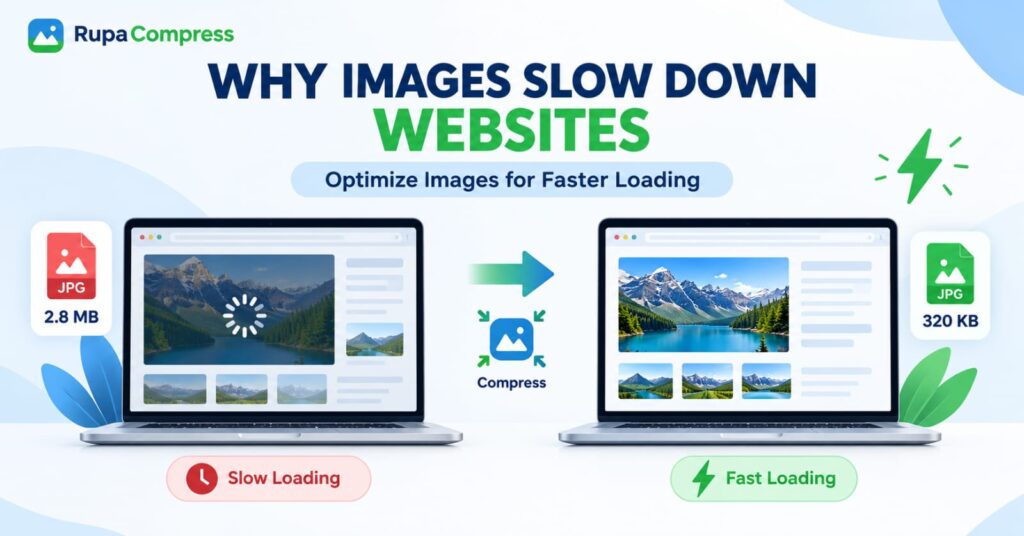
If you have ever visited a website and watched in frustration as a picture loaded line-by-line down the screen, you have experienced the number one culprit of poor website performance: unoptimized images.
Modern websites are highly visual. Whether you are running a photography portfolio, a personal blog, or an e-commerce store, high-quality visuals are essential for engaging your audience. However, these visuals come at a steep cost if not handled correctly. Images often account for 50% to 70% of a webpage’s total downloaded weight.
When a site takes too long to load, visitors abandon it, and search engines like Google push it further down the search rankings. But why exactly do images cause such a massive bottleneck, and more importantly, how can you fix it without sacrificing visual quality?
In this comprehensive guide, we will break down the technical reasons why images slow down websites and provide a practical, step-by-step blueprint to optimize your images for lightning-fast load times.
The Technical Reasons Images Slow Down Websites
To fix the problem, you first need to understand the mechanics of how a web browser loads a webpage.
When a visitor types in your URL, their browser sends a request to your web server. The server responds by sending back text, code (HTML, CSS, JavaScript), and media files. Text and code are incredibly lightweight—they are measured in mere kilobytes (KB) and transfer almost instantly.
Images, on the other hand, are heavy. A single high-resolution photo taken on a modern smartphone or DSLR camera can easily be 5 to 10 megabytes (MB) in size. If your homepage contains five of these raw photos, your visitor’s browser has to download 25 to 50 MB of data before the page is fully interactive.
Here are the specific reasons why unoptimized images choke website performance:
1. Excessive File Weight (The Megabyte Problem)
The internet is a series of data transfers. The larger the file, the longer it takes to transfer from the server to the user’s screen. While users on high-speed fiber optic connections might barely notice a 5 MB image, a mobile user on a 3G or weak 4G cellular network will be left staring at a blank screen for several seconds.
2. Rendering Dimensions vs. Actual Dimensions
This is one of the most common mistakes website owners make. Imagine you have a small author profile picture on your blog that displays at 150×150 pixels. If you upload a raw 4000×4000 pixel image and rely on your website builder (like WordPress or Shopify) to “shrink” it visually, you are making a critical error.
The browser still has to download the massive, original 4000×4000 pixel file, and then it has to use the computer’s processing power to resize it down to 150×150 pixels on the screen. This dual burden of downloading massive data and forcing the browser to resize it locally creates significant rendering delays.
3. Using the Wrong File Format
Not all image formats are created equal. Formats like TIFF or BMP are completely uncompressed and are meant for high-end print design, not web use. Even standard PNG files, which are excellent for graphics requiring transparent backgrounds, are notoriously heavy when used for complex, colorful photographs. Using the wrong format forces browsers to download redundant visual data.
4. Missing Modern Browser Protocols
Older websites often load all images simultaneously the moment the page opens. If you have 20 images on a page, the browser tries to download all 20 at once, clogging the bandwidth. Modern best practices dictate that images should only load when they are actually needed (when the user scrolls down to them).
The Business Cost of Slow-Loading Images
You might think that a delay of two or three seconds isn’t a big deal. However, decades of digital marketing research prove otherwise.
- Skyrocketing Bounce Rates: Studies consistently show that if a page takes longer than three seconds to load, over 50% of mobile users will hit the “back” button and leave the site entirely.
- Lost Revenue: For e-commerce stores, a one-second delay in page load time can result in a 7% reduction in conversions. If you are making $1,000 a day, that one second costs you over $25,000 a year.
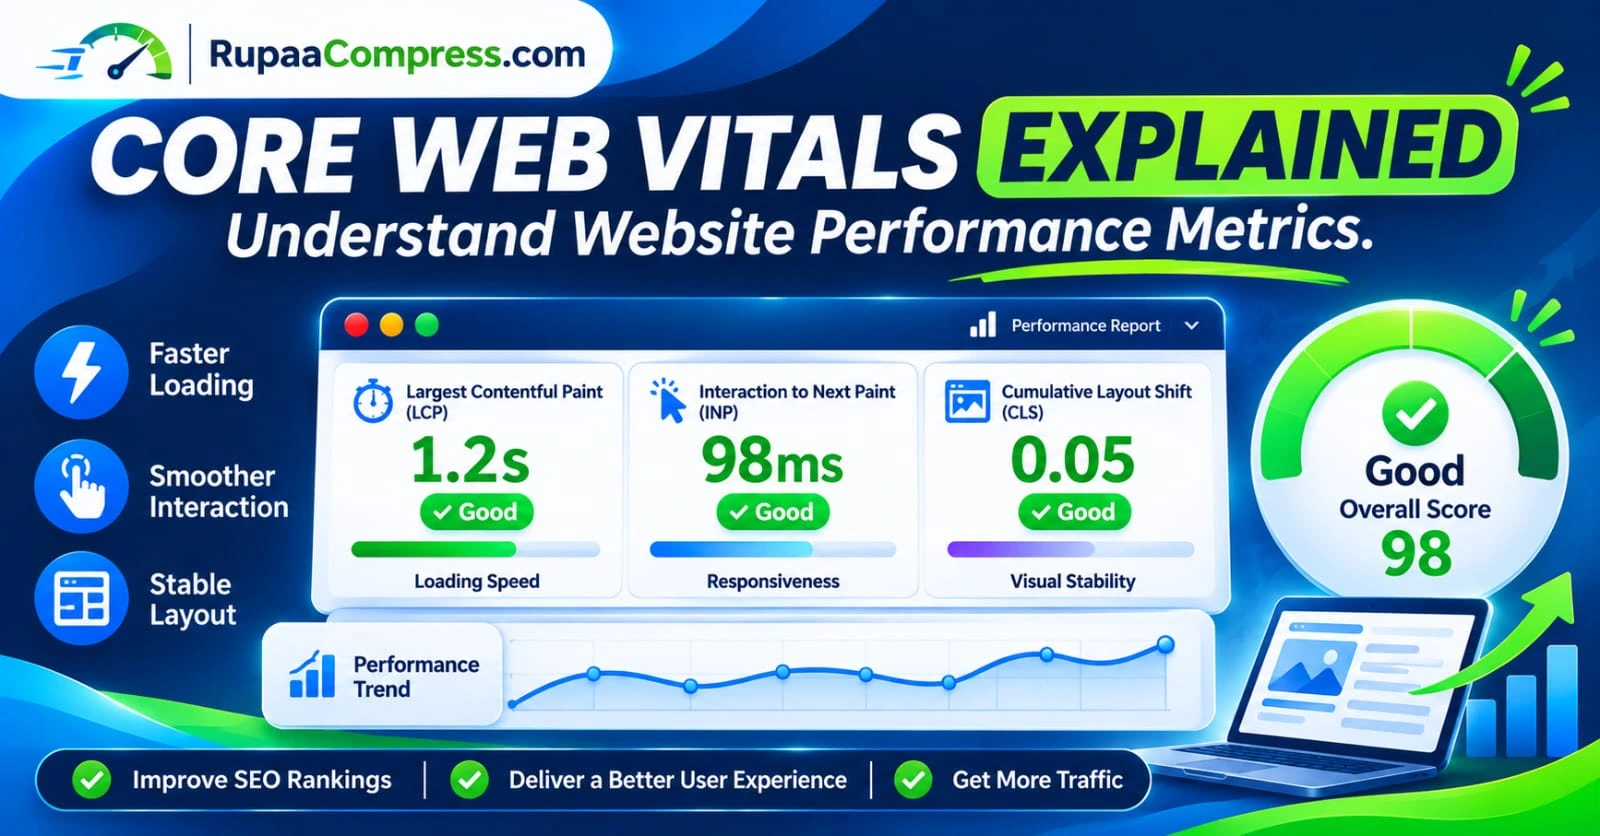
- SEO Penalties: Google explicitly uses page speed—specifically a metric called Core Web Vitals—as a ranking factor. Sites with heavy, slow-loading images are actively penalized in search results, reducing organic traffic.
How to Optimize Images for Faster Loading
The good news is that image optimization is straightforward and completely free. By following these three steps, you can reduce your image page weight by up to 80% without losing any visible quality.
Step 1: Resize to Exact Dimensions
Never rely on HTML or CSS to shrink an image. You must resize the image to the exact dimensions it will be displayed at before you upload it.
If your blog’s content area is 800 pixels wide, there is absolutely no reason to upload a 3000-pixel-wide photo. You can use the free Resize Image tool at RupaaCompress to scale your images down instantly. Simply set the maximum width to match your website’s layout. If you need a specific shape, like a square for a thumbnail, use the Crop Image tool first.
Step 2: Choose the Correct Web Format
Selecting the right format is crucial. Here is a quick cheat sheet:
- JPG: Best for standard photographs, colorful images, and gradients. It offers good compression.
- PNG: Use only for graphics, logos, or images that require a transparent background.
- WebP: The modern gold standard. WebP was developed by Google specifically for the web. It provides superior compression to JPG and PNG, often resulting in files that are 30% smaller with the exact same visual quality.
If you have old formats, or if you took photos on your iPhone (which saves them as heavy HEIC files), use the Convert Image tool to switch them to WebP or JPG before uploading.
Step 3: Compress the File Size
Once your image is the correct physical size and in the right format, you need to compress it. This process removes hidden metadata (like the camera model or GPS coordinates—which you can also remove specifically using our EXIF removal guide) and subtly reduces the amount of color data in a way that the human eye cannot detect.
Head to the Compress Image tool on RupaaCompress. Drop your image in and adjust the quality slider. As a rule of thumb, setting the quality to around 75% to 80% will drastically reduce the file size—often from several megabytes down to under 100 KB—while keeping the image perfectly sharp. Use the live before/after slider to ensure you are happy with the visual quality.
Step 4: Implement Lazy Loading
Once your properly sized and compressed images are on your website, you should enable “lazy loading.” This is a technique where the website only loads the images that are currently visible on the user’s screen. As they scroll down, the rest of the images load seamlessly in the background.
If you use WordPress, lazy loading is now included by default in the core software. If you use a custom site or another platform, check your settings to ensure this feature is turned on.
Why Use Local Browser-Based Optimization?
Many online image compressors require you to upload your files to their remote servers, wait in a queue, and then download the results. This is slow, frustrating, and presents a massive privacy risk if you are optimizing sensitive or unreleased images.
At RupaaCompress, all of your image processing happens locally within your web browser.
- Instant Speeds: Because there are no uploads or server queues, your images process instantly.
- Total Privacy: Your files never leave your device. You can even disconnect from the internet and the tools will still work.
- Batch Processing: You don’t have to optimize images one by one. You can drag and drop an entire folder of heavy photos, resize them, convert them to WebP, and compress them all at once.