Search engine optimization (SEO) is often treated like a writing contest. Website owners spend hours researching keywords, crafting meta descriptions, and structuring headings—only to upload ten unedited, multi-megabyte photographs into their post and wonder why the page never reaches the first page of Google.
Here is the reality of modern search engines: content quality gets you indexed, but technical experience helps you rank. And when it comes to technical on-page experience, nothing moves the needle faster than the relationship between image compression and SEO.
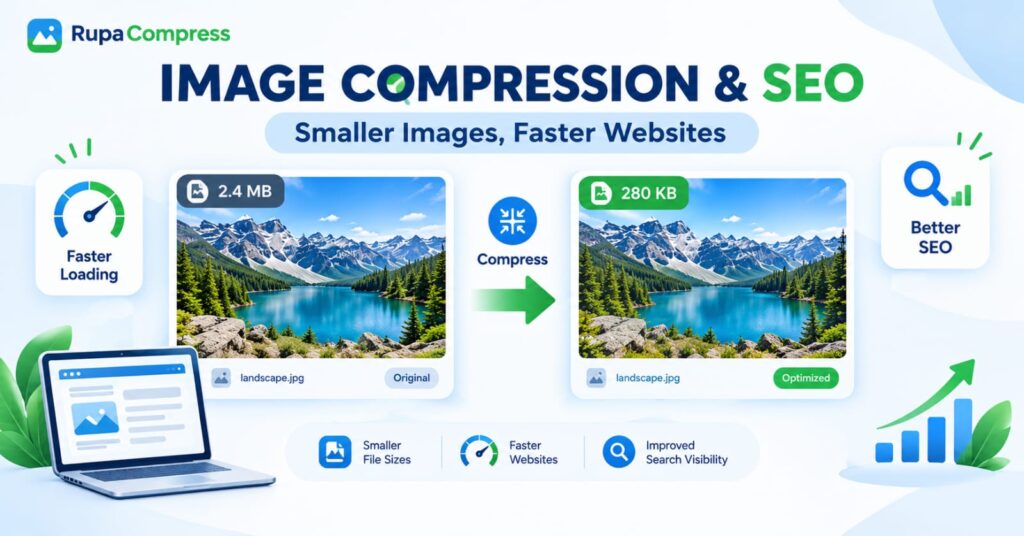
Look closely at the comparison in our featured graphic above. On the left is an original photograph named landscape.jpg weighing 2.4 MB. On the right is that exact same photograph after proper compression: it looks completely identical to the human eye, yet its file weight has dropped to 280 KB—a massive 88% reduction in file size.
Multiply that single savings across five, ten, or twenty images on a webpage, and you transform a sluggish, bandwidth-heavy page into an instant, search-engine-friendly asset. In this comprehensive guide, we will explore the exact mechanisms linking smaller file sizes, faster websites, and improved search visibility, and walk through a step-by-step workflow to compress your images for SEO using the free, private tools on RupaaCompress.
How Image Compression Directly Impacts SEO
Many creators assume that image compression only matters for saving storage space on their web hosting server. In truth, every kilobyte you shave off an image creates a ripple effect across five critical Google ranking and indexing systems.
1. Passing Google’s Largest Contentful Paint (LCP)
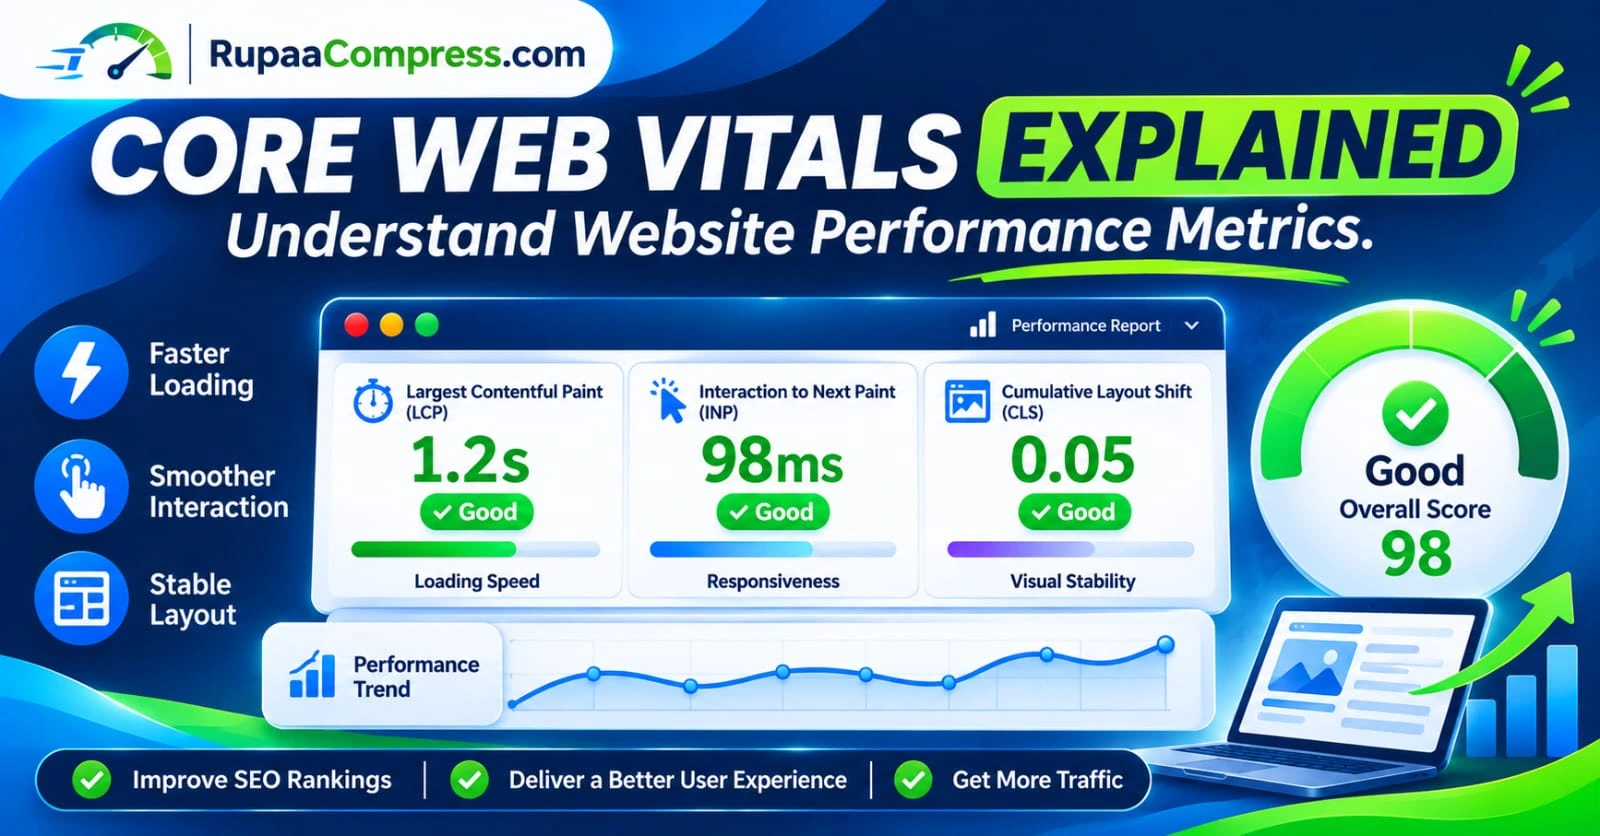
Google’s Core Web Vitals measure how fast and stable a webpage feels to real human visitors. The most heavily weighted speed metric in this system is Largest Contentful Paint (LCP), which times how long it takes for the main visual element at the top of your screen to finish rendering.
On almost every blog post, news article, and product page, the LCP element is your featured image or hero banner. If that featured image is an uncompressed 2.4 MB file, a user on a standard mobile connection may wait three to four seconds just for that single graphic to finish downloading—causing your page to fail Google’s 2.5-second LCP threshold. When you compress that same photo down to 280 KB, it transfers across the network nearly nine times faster, comfortably passing Core Web Vitals.
2. Excelling in Mobile-First Indexing
Google evaluates and ranks your website based on its mobile version, not its desktop version. When Googlebot crawls your pages, it simulates a mobile device over a cellular connection. Heavy, uncompressed images create data bottlenecks that delay page rendering and increase mobile bounce rates. Serving lightweight, compressed images ensures mobile visitors stay on your page and continue scrolling—sending positive engagement signals back to search engines.
3. Maximizing Your Crawl Budget and Google Images Indexing
Search engine bots do not have unlimited time or bandwidth to spend on your website. If you run an e-commerce catalog, a travel blog, or a tutorial site with thousands of visuals, forcing Googlebot to download bloated multi-megabyte files slows down how quickly it can crawl and index your new pages.
Lightweight images allow search crawlers to fetch, process, and index both your HTML pages and your media files into Google Images and Google Discover far more efficiently—directly unlocking improved search visibility.
4. Lowering Bounce Rates and Increasing Dwell Time
No matter how thorough your article is, readers will not wait around for blank image placeholders to load. When visuals snap onto the screen immediately, visitors read further down the page, view more internal links, and spend more time engaging with your brand.
The Science Behind the 2.4 MB to 280 KB Transformation
When people see a file shrink from 2.4 MB down to 280 KB while looking visually identical side-by-side, their first question is usually: “Where did the other 2.12 megabytes go?”
Raw digital photographs contain an enormous amount of data that a web browser simply does not need to display a crisp picture on a laptop or smartphone screen. Image compression works by targeting three hidden sources of file bloat:
1. Sub-Visual Color Consolidation (Smart Lossy Compression)
A camera sensor captures millions of microscopic color variations across adjacent pixels—for example, fifty slightly different shades of blue across a tiny patch of sky or lake water. While a professional billboard printer might need all fifty shades, the human eye viewing a web browser cannot distinguish between them.
Smart lossy compression groups nearly identical neighboring color values together so the file can store them using a fraction of the mathematical code. As long as you keep your compression quality setting in the “sweet spot” (around 75% to 82%), the file size plummets by 80% to 90% while the human eye sees zero degradation.
2. Chroma Subsampling
The human eye is far more sensitive to changes in brightness (luminance) than it is to microscopic changes in color (chrominance). Modern image encoders preserve full sharpness in the brightness and edge details (like the rocky shoreline and pine needles in landscape.jpg) while subtly simplifying the underlying color grid—saving hundreds of kilobytes instantly.
3. Stripping Hidden Metadata (EXIF Bloat)
Every file straight out of a smartphone or DSLR carries invisible baggage: camera model names, shutter speeds, GPS coordinates, embedded color profiles, and even miniature preview thumbnails tucked inside the file header. By stripping this hidden metadata—which you can read more about in our guide on how to remove EXIF data from photos—you eliminate dead weight before pixel compression even begins.
Lossy vs. Lossless Compression: Which Is Better for SEO?
When optimizing images for your website, you will encounter two primary methods of compression:
- Lossless Compression: Reorganizes the image data more efficiently and strips metadata without discarding a single pixel of visual information. It typically reduces file size by 10% to 25%. Lossless compression is ideal for technical diagrams, medical scans, or archival photography where pixel-for-pixel accuracy is mandatory.
- Smart Lossy Compression: Selectively removes invisible color redundancy to achieve massive file size reductions of 70% to 90% (such as taking a
2.4 MBoriginal down to280 KB).
The SEO Verdict: For 99% of websites, blogs, and online stores, smart lossy compression combined with modern formats is the clear winner for SEO. A 15% lossless reduction on a 2.4 MB file still leaves you with a 2 MB image that will tank your page speed. Using a visual quality slider to apply smart lossy compression brings your image safely into the 100 KB–300 KB range where websites fly.
Step-by-Step Workflow: How to Compress and Optimize Images for SEO
You do not need expensive desktop software or paid WordPress plugins that charge monthly “image credit” fees to optimize your media. Using the free browser-based tools on RupaaCompress, you can optimize single photos or entire folders in seconds.
Follow this exact five-step SEO workflow before uploading images to your site:
Step 1: Convert Proprietary Formats (Like HEIC) and Pick the Right Extension
If you shoot product or blog photos on an iPhone, they are often saved in Apple’s .HEIC format, which cannot be uploaded directly to most websites. First, use our guide on how to convert HEIC to JPG on iPhone or drop them straight into the Convert Image tool on RupaaCompress.
- Use JPG or WebP for photographs and detailed scenes (like
landscape.jpg). - Use PNG or WebP only when you need crisp text screenshots or transparent backgrounds.
- Want to cut file sizes even further? Read our breakdown on what WebP is and why you should use it along with our comparison of the best image format for websites in 2026.
Step 2: Check Your Pixel Dimensions
Before compressing, make sure your image isn’t 5000 pixels wide when your blog column is only 800 pixels wide. If needed, run your folder through the Resize Image tool on RupaaCompress to set a sensible maximum width (such as 1200px for hero images or 800px for in-article graphics).
Step 3: Compress Your Images with Live Visual Comparison
- Open the Compress Image tool on RupaaCompress.
- Drag and drop your image—or an entire folder of article images—into the browser workspace.
- Adjust the Quality Slider (start around 78%) or enter an Exact Target Size in kilobytes.
- Watch the file size indicator drop in real time—for example, shrinking an original
2.4 MBfile down to an optimized280 KB, or even further if you follow our guide on how to compress images to 100 KB or less. - Drag the Before/After Comparison Slider across the image to verify that fine textures, edges, and colors remain sharp.
Step 4: Use SEO-Friendly Filenames
Notice in our featured diagram how the file is cleanly named landscape.jpg rather than IMG_84920_FINAL.JPG. Search engines read your image filename as a primary keyword signal. Before downloading your optimized batch from RupaaCompress, use clear, lowercase, hyphen-separated words that describe the photo accurately (for example, mountain-lake-landscape-view.jpg or online-image-compression-seo.webp).
Step 5: Download and Add Descriptive Alt Text in Your CMS
Download your optimized images (either individually or bundled as a single ZIP archive) and upload them to WordPress or your website builder. Once uploaded, fill in a clear, natural Alt Text description so screen readers and Google Images crawlers understand the visual context.
Why Browser-Based Compression Is Faster and Safer for Webmasters
If you manage client websites, e-commerce catalogs, or pre-release blog announcements, uploading your images to traditional cloud-based compression websites has two major drawbacks:
- Upload and Download Bottlenecks: Uploading twenty
2.4 MBphotos to a remote server takes nearly 50 MB of upload bandwidth before the server even starts compressing them. - Privacy Risks: Your original files sit on a third-party server outside your control.
RupaaCompress eliminates both problems by running 100% locally inside your web browser via the HTML5 Canvas API:
- 0 Files Uploaded to Servers: Your photos never leave your device.
- Instant Batch Processing: Drop a whole folder of images, apply your compression settings, and download everything as a single ZIP archive without waiting in a server queue.
- Works Offline: Once the tool page loads in your browser, you can even disconnect from Wi-Fi and continue compressing images seamlessly.
Image SEO Target File Size Cheat Sheet
Not sure how small your compressed images should be? Use this quick reference target guide when adjusting the slider in RupaaCompress:
| Website Image Type | Recommended Max Width | Target Compressed File Size | Best Format |
| Full-Width Hero Banners | 1600px – 1920px | 150 KB – 300 KB (e.g., 280 KB) | WebP or JPG |
| Blog Featured Images | 1200px | 100 KB – 200 KB | WebP or JPG |
| In-Article Photos & Screenshots | 800px – 1000px | 60 KB – 120 KB | WebP or JPG |
| E-commerce Product Photos | 1000px – 1200px | 70 KB – 150 KB | WebP or JPG |
| Thumbnails, Avatars & Icons | 150px – 400px | Under 40 KB | WebP, PNG, or SVG |
Frequently Asked Questions (FAQs)
1. Does compressing images hurt image quality on my website?
No—when done properly using smart compression, there is no visible loss in quality. As shown in our 2.4 MB to 280 KB landscape.jpg example, removing redundant mathematical color data and hidden metadata reduces file weight by nearly 90% while keeping the visual presentation crisp on both retina laptops and mobile screens.
2. Does Google penalize websites for having large images?
Yes, indirectly through Core Web Vitals and page speed signals. Uncompressed megabyte-sized images slow down Largest Contentful Paint (LCP) and increase mobile bounce rates, which can cause your pages to rank lower than faster competitors offering similar content.
3. Does compressing an image change its pixel dimensions?
No! Compressing an image reduces its file weight (measured in megabytes MB or kilobytes KB), whereas resizing an image changes its physical pixel dimensions (such as 1200 × 800 pixels). An image can stay at the exact same pixel resolution while dropping from 2.4 MB to 280 KB through compression alone. For the best SEO results, you should both resize oversized dimensions and compress the file weight.
4. Should I compress images before uploading to WordPress, or use a plugin?
Compressing images before uploading them to WordPress is always the cleanest and fastest approach. WordPress image optimization plugins consume your web server’s CPU resources, clutter your database, and almost always limit you to a small monthly quota unless you pay for a subscription. Compressing locally in your browser with RupaaCompress is 100% free, unlimited, and keeps your hosting server fast and clean.
5. Will re-compressing an already compressed JPG ruin it?
Repeatedly saving and compressing the same JPG file five or six times in a row can introduce blocky artifacts (“generation loss”). Always keep a backup folder of your original photos and compress a fresh copy once using the live before/after slider on RupaaCompress before uploading to your website.