Have you ever tried uploading a photograph to an online application, job portal, website, or registration form, only to receive an error saying that the image file is too large? This is a common problem because photographs captured by modern smartphones and digital cameras can occupy several megabytes, while many online systems impose strict image-size limits. You may have a perfectly clear photograph, but the website will not accept it because its file size exceeds the permitted amount. Repeatedly changing the image quality, taking new photographs, or sending the picture through messaging applications may not solve the problem. What you need is a reliable way to reduce image size to the required number of kilobytes while keeping the photograph clear enough for its intended purpose.
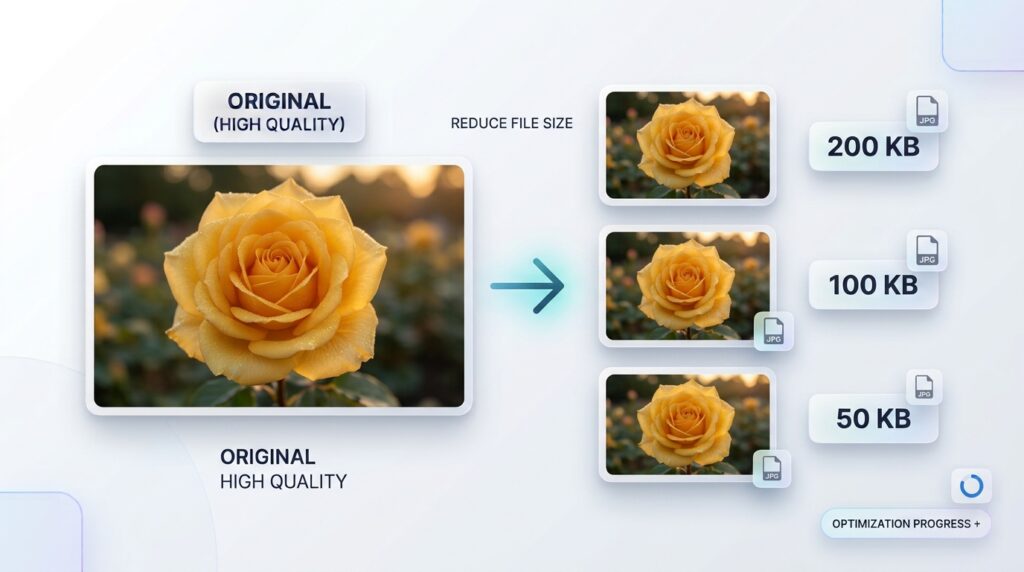
Reducing an image to 200 KB, 100 KB, 50 KB, or another specified size is possible with an online image compressor. The important part is understanding the difference between file size, image dimensions, and image quality. These factors affect how much you can reduce a photograph without making it blurry or difficult to recognize. In this guide, you will learn how to compress an image to a specific KB size, how to prepare photographs for online applications, how to reduce oversized files efficiently, and how to avoid common mistakes. You will also learn how to use the free RupaaCompress image tools to prepare images directly in your browser without uploading the image files to a remote server.
Why Do Websites Require Images Under a Certain KB Size?
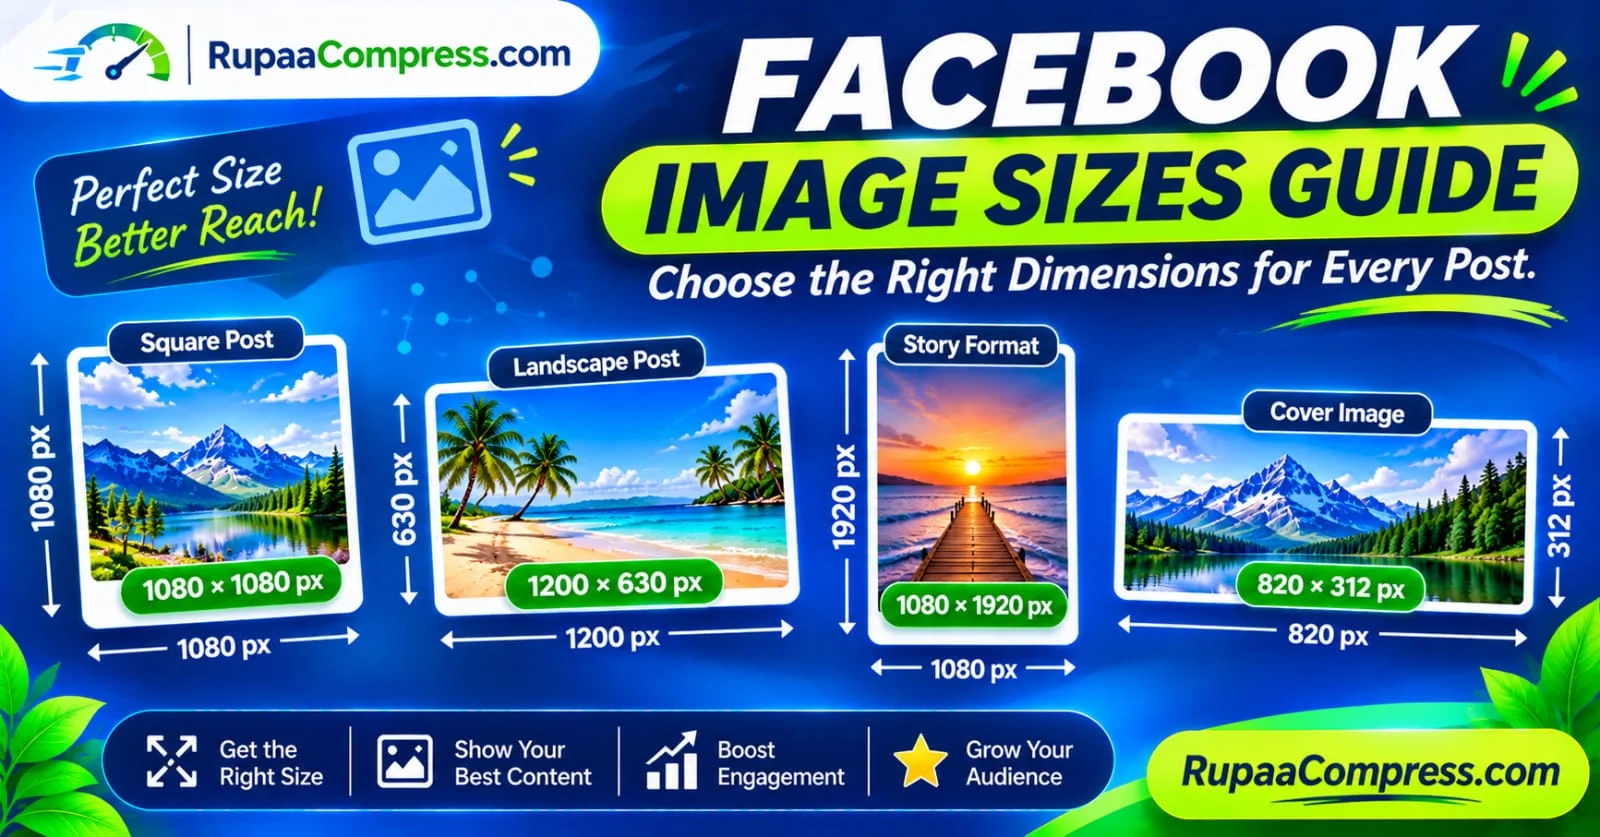
Many websites limit the maximum size of uploaded images because large files require more storage and take longer to transfer. An application form might accept only a small photograph, an online marketplace might restrict product-image uploads, and a website registration system might specify a maximum file size for profile pictures. These requirements can differ considerably between platforms, so an image that works perfectly on one website may be rejected by another. The restriction may be expressed in kilobytes, such as 100 KB or 200 KB, or in megabytes, such as 1 MB or 2 MB. Some systems also specify the accepted file format and the required width and height in pixels.
The problem often starts with the photograph itself. A modern smartphone can capture an image measuring several thousand pixels across, with plenty of detail and a file size of several megabytes. That is useful when viewing the photograph on a large screen or printing it, but an online form may not need the original amount of image data. If the form asks for a JPG file under 200 KB, uploading a 4 MB PNG or HEIC photograph may fail because the file is too large or the format is not supported. In this situation, you need to prepare a suitable copy rather than repeatedly uploading the original image.
It is important to understand that file-size requirements are not universal. There is no single standard that requires every profile photograph, identification photograph, signature image, job-application picture, or online registration image to be 50 KB or 200 KB. Each website or institution establishes its own specifications. Before compressing an image, read the instructions on the destination website and identify the exact maximum file size, accepted file formats, minimum and maximum pixel dimensions, and any other requirements. A file that meets the KB limit may still be rejected if it uses the wrong format or dimensions.
What Does It Mean to Reduce an Image to 200 KB?
When you reduce an image to 200 KB, you are reducing the amount of digital data stored in the image file to meet a target of approximately 200 kilobytes or a maximum of 200 KB, depending on the requirement. Kilobytes measure file size, not the physical dimensions or the visual quality of the image. For example, a photograph measuring 3000 by 2000 pixels can have a relatively small file size if it is compressed efficiently, while a smaller image can still occupy more storage if it uses a different format or compression method.
This distinction is important because reducing file size does not always require changing the image’s width and height. An image compressor can reduce the amount of data stored in a photograph while keeping the pixel dimensions unchanged. However, if the original photograph is extremely large or contains complex visual details, compression alone may not be sufficient to meet a very small target while maintaining acceptable quality. In that situation, resizing the image first can help reduce the number of pixels that need to be stored.
For example, imagine that your original photograph occupies 3 MB and the online form accepts only 200 KB. Since the original file is much larger than the permitted size, you need a significant reduction. A suitable combination of resizing, compression, and format selection can make the photograph more manageable. The amount of reduction required depends on the original file, and the best settings may vary between a portrait, a scanned document, and a photograph containing a detailed background.
How to Reduce Image Size to 200 KB Online
The easiest approach is to use an image-compression tool that allows you to specify a target file size instead of making repeated guesses with a quality slider. RupaaCompress provides a Compress Image tool that supports target file sizes in KB. You can choose a photograph, enter a target size, select a suitable output format, and process the file in your browser. This is useful when an application specifies a maximum file size because you can prepare the image according to that requirement instead of repeatedly trying different settings manually.
Begin by opening the RupaaCompress image-compression page in your browser. Select the photograph you want to prepare from your computer or mobile device. Before processing it, check the destination website’s instructions to confirm that the photograph’s format and dimensions are acceptable. If the application requires JPG, choose JPG as your output format. If it accepts PNG or WebP, you can consider those formats when they suit the image and the requirements of the destination.
Next, enter 200 in the target file-size field if the website specifies a maximum of 200 KB. Keep in mind that the number should match the unit and rule used by the destination website. A form that accepts files of 200 KB or less may be satisfied by a smaller file, while another form may specify a minimum and maximum range. These are different requirements, so do not assume that a photograph below the maximum will always meet every condition. After setting the target, process the image and check the resulting file size.
Once processing is complete, inspect the compressed photograph before downloading or uploading it. Make sure the subject remains recognizable, the colours appear natural, and the important details are still clear. If the image meets the file-size requirement but looks noticeably blurry, consider resizing it to suitable dimensions before compressing it again from the original source. This can sometimes produce a better balance between file size and visual quality. When the output meets both the technical requirements and your quality expectations, download the file and use that version for the intended application.
How to Reduce Image Size to 100 KB
Reducing an image to 100 KB is a common task when working with online forms and systems that impose relatively small upload limits. The process is similar to reducing an image to 200 KB, but the smaller target may require a greater reduction in image data. If the original photograph is several megabytes, trying to reach 100 KB without considering the image dimensions can lead to a poor-quality result. This is particularly true for high-resolution photographs containing detailed backgrounds, textured clothing, hair, trees, or other complex visual elements.
Start with the original photograph whenever possible. Open the RupaaCompress Compress Image tool, select the image, and enter 100 in the target file-size field. Choose an output format accepted by the destination website. For ordinary photographs, JPG is often a practical option because it supports efficient lossy compression and is widely compatible with websites, document applications, and online forms. If the original image contains a transparent background or detailed graphics that require different treatment, check whether the destination supports another suitable format before converting the file.
If the image cannot reach the target while preserving acceptable quality, consider reducing its pixel dimensions. For instance, an image originally measuring several thousand pixels across may contain more resolution than a small online form requires. Resizing the image appropriately reduces the number of pixels, which can make it easier to reach the target size without relying entirely on aggressive compression. Use the original file as the source for this process, then check the output dimensions and file size. The correct dimensions depend on the form’s requirements, so avoid selecting an arbitrary small size without checking the instructions.
After compressing the image, zoom in enough to check important details and then view it at a normal size. An image that looks acceptable as a small thumbnail may reveal visible artefacts around the face, text, or other detailed areas when enlarged. You should also verify that the downloaded file is actually below the required maximum. If the system specifies a range rather than a maximum, make sure the image does not fall below the minimum permitted size. Successful image preparation means meeting the complete set of requirements, not simply achieving the smallest possible file.
How to Reduce Image Size to 50 KB
A 50 KB target is considerably smaller than the size of many original smartphone photographs, so the process requires more care. Extremely small targets can be suitable for particular types of images and systems, but the result depends heavily on the source image and its dimensions. A simple graphic may compress efficiently, while a detailed colour photograph can be much harder to reduce to 50 KB without visible degradation. Before attempting to meet such a small target, check whether the destination specifically requires it or whether it merely states a higher maximum file size.
If the system permits a larger file, there may be no reason to reduce the photograph to 50 KB. Preserving more image detail can be preferable when the file will be used for identification, professional applications, product presentation, or other purposes where clarity matters. However, when a 50 KB limit is mandatory, start with the best original image and ensure that the output format is supported. Enter 50 in the target file-size field of the RupaaCompress image compressor and process the image. Then examine the result carefully to determine whether its quality remains acceptable.
If the photograph becomes too blurry or develops noticeable compression artefacts, resize it before applying further compression. This can reduce the amount of pixel information that needs to be retained and may improve the result. However, the resizing dimensions should be selected according to the destination’s instructions. Do not make an identification photograph or document image smaller than permitted merely to reach a file-size target. If the specified dimensions cannot be maintained alongside the required size and acceptable quality, the target may be difficult to achieve with that particular source image and format.
Another important consideration is whether the system specifies a minimum file size. Some applications require an image to fall within a range rather than remain below a maximum. In such cases, producing a file much smaller than the permitted minimum can cause another rejection. Read the requirements carefully and aim for an appropriate size within the allowed range. This avoids unnecessary compression and preserves a more useful level of image quality.
How to Reduce an Image to 20 KB or Another Very Small Size
Some online systems impose even smaller image limits, such as 20 KB or 30 KB. At these sizes, achieving a visually clear result can be difficult if the original image is a detailed photograph. The main challenge is that photographs contain substantial colour and texture information, and a very small file cannot retain every detail from a high-resolution original. The more information that must be preserved, the harder it becomes to fit the image into a strict file-size limit.
When working with a very small target, start by confirming that the requirement is correct and that you are preparing the right kind of image. If the destination asks for a small signature image, for example, you may be working with a simpler subject than a full-colour portrait. If it requires a photograph, the dimensions and composition may be more important than they would be for a simple graphic. Select the format specified by the system, and use an appropriate target size in the compression tool.
If compression alone does not produce a satisfactory result, resize the image to the dimensions permitted by the destination. Remove unnecessary surrounding areas only when cropping is allowed and does not eliminate required content. For example, cropping out excessive background from a photograph may reduce the amount of information in the composition, but you should not crop a document or identification photograph in a way that violates the stated rules. The goal is to remove unnecessary image data while preserving everything the final image is required to show.
It is also important to manage expectations. Very aggressive compression can result in blurry facial features, colour banding, blocky patterns, and poor text clarity. A technically compliant file is not necessarily a useful or acceptable image. If the output looks damaged, return to the original file, review the allowed dimensions and formats, and try a more suitable combination of settings. If a system requires a particularly small size alongside strict resolution and quality requirements, follow the instructions carefully rather than sacrificing essential image details without checking whether the result will be accepted.
Should You Resize an Image Before Compressing It?
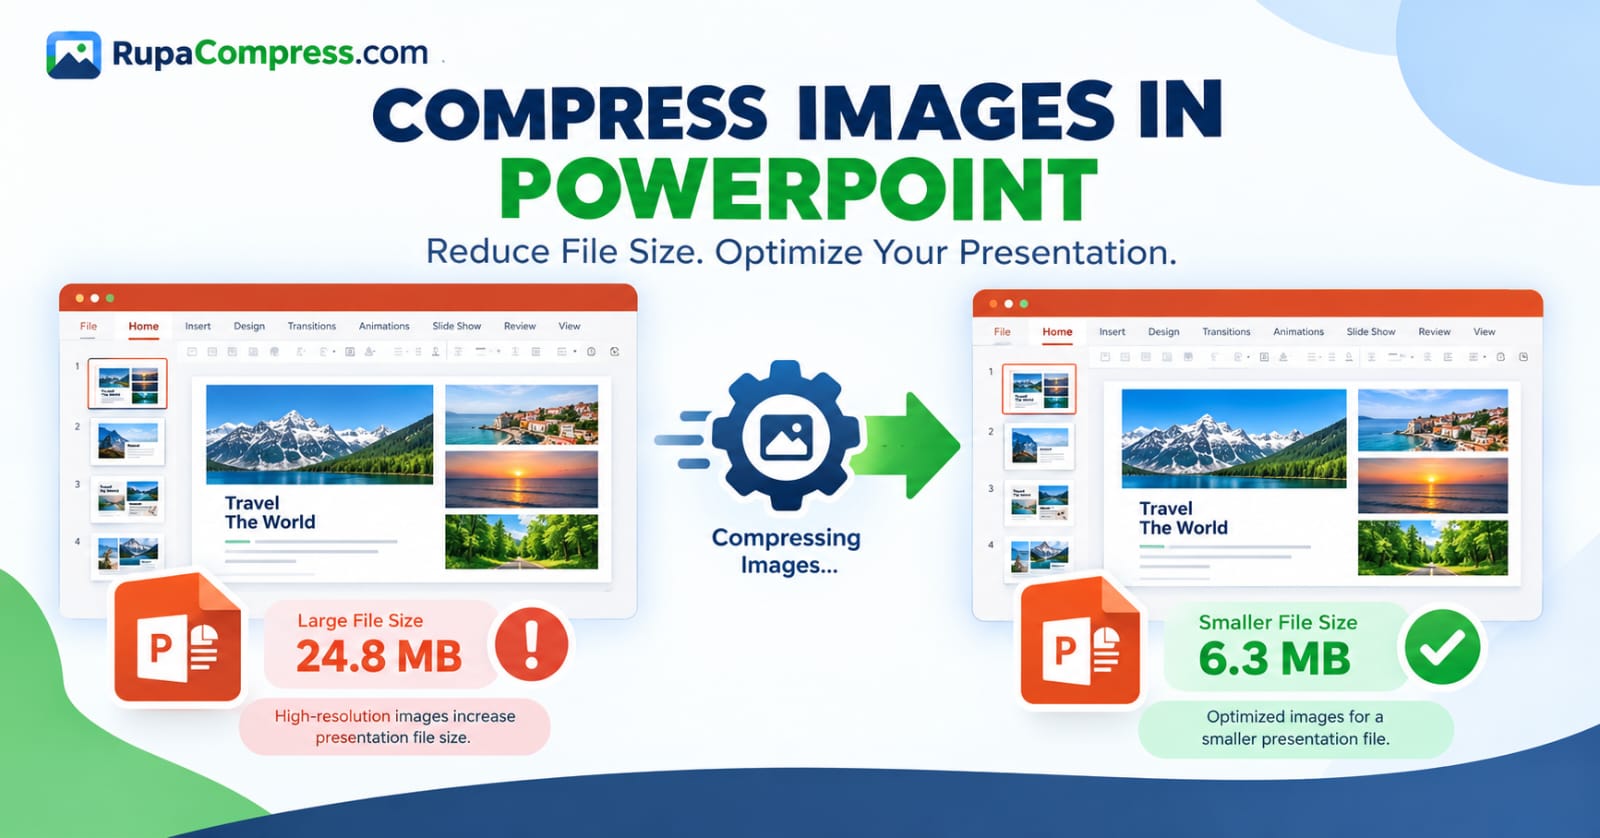
Resizing an image before compression is often useful when the original dimensions are much larger than the destination requires. A high-resolution smartphone photograph might contain millions of pixels, even though an online form displays the final image in a small space. Reducing the dimensions to an appropriate level can make the image easier to compress and reduce the amount of storage needed. This is particularly relevant when you need to reduce a photograph from several megabytes to a much smaller KB target.
However, resizing and compression are not the same thing. Resizing changes the pixel dimensions of the image, while compression changes how efficiently the image data is stored. You may compress an image while keeping its dimensions unchanged, or resize it while retaining a relatively high level of output quality. When both operations are needed, the order matters because resizing the original source first can eliminate unnecessary resolution before compression is applied.
RupaaCompress provides a separate Resize Image tool that lets you adjust dimensions using pixels or percentages. It also supports options for maintaining the original proportions and selecting preset dimensions for particular uses. These controls can help when preparing an image for a specific application. For instance, if the form specifies an exact width and height, use those requirements rather than selecting dimensions based only on a desired file size.
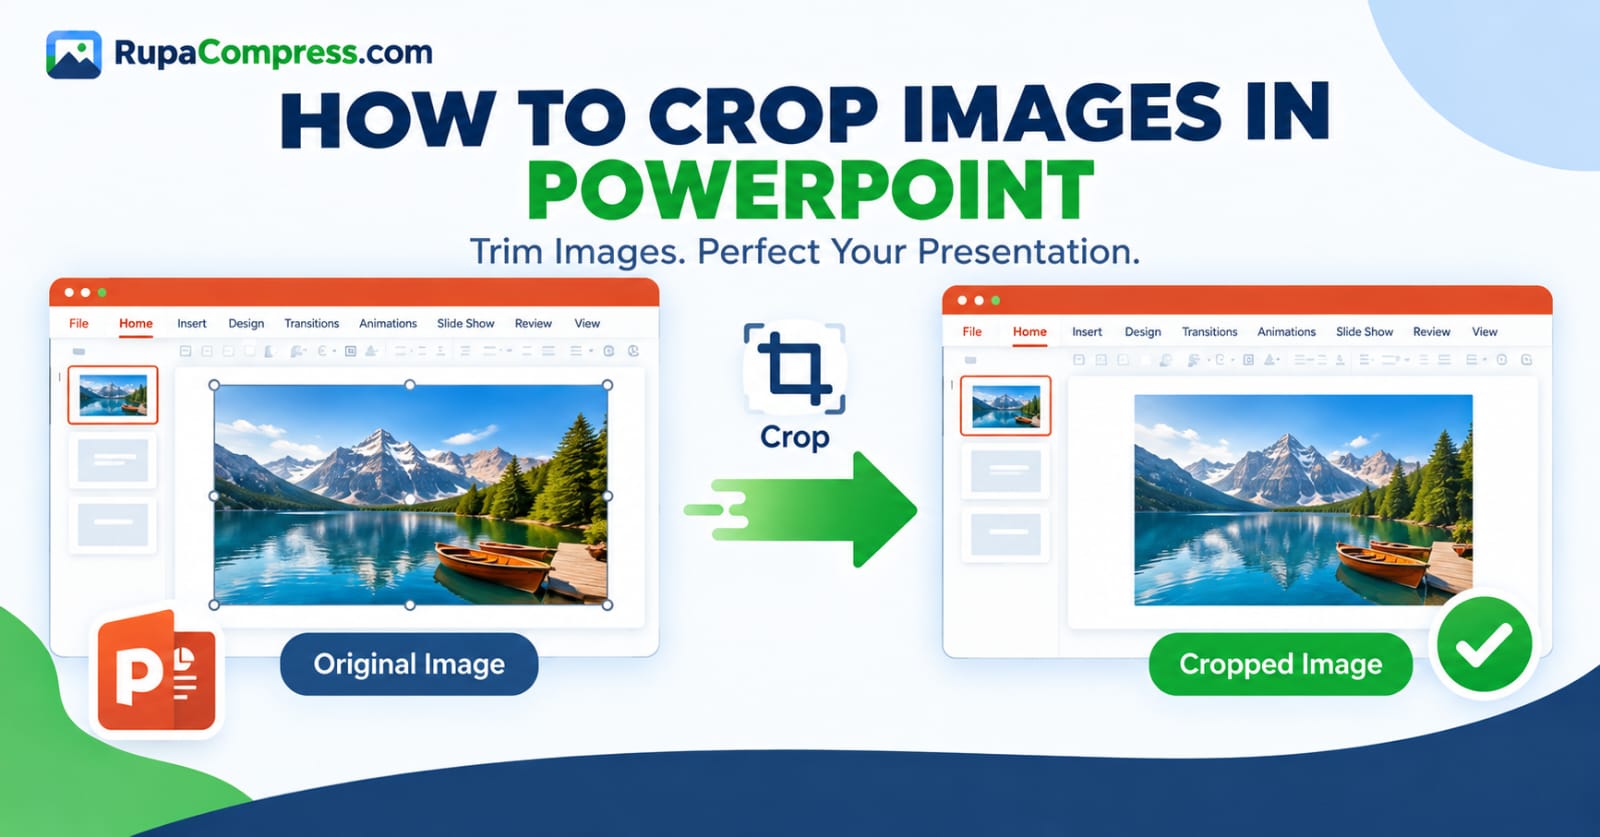
Avoid stretching an image to force it into a particular shape. Stretching can distort faces, objects, and other content, making them appear wider or narrower than they should. When the image needs different dimensions, preserve the aspect ratio unless the destination specifically requires a different treatment. If cropping is permitted and the original aspect ratio does not match the required dimensions, cropping can sometimes provide the correct shape without distorting the subject. The RupaaCompress Crop Image tool can be useful when you need to remove unwanted areas or prepare an image for a specified aspect ratio.
Which Image Format Should You Use for a Small File Size?
The output format can make a substantial difference when reducing image size. JPG is often a suitable choice for standard photographs because it can produce relatively small files while maintaining acceptable visual quality. It is widely supported by browsers, computers, smartphones, document editors, and online forms. If the destination specifically requests JPG or JPEG, follow that requirement rather than converting the photograph to another format simply because it might produce a smaller file.
PNG is more useful when you need lossless image representation or transparency. It is commonly used for logos, screenshots, diagrams, icons, and graphics containing sharp edges or text. However, PNG files can be relatively large when they contain complex photographic content. If you are compressing an ordinary photograph for an online form, a supported JPG output may be more efficient than PNG. If the image has a transparent background, remember that JPG cannot preserve transparency. Transparent areas must be replaced with a solid background if you choose JPG output.
WebP is another useful option for websites and applications that support it. It can provide efficient compression while supporting transparency, but not every upload system accepts WebP. AVIF is also an option in compatible workflows, although its availability depends on browser and application support. These formats should be selected according to the destination’s requirements and not solely according to their potential file-size advantages.
RupaaCompress supports image conversion as well as compression, allowing you to choose an output format when preparing images. You can visit the RupaaCompress Convert Image tool if your source file is in a format that the destination does not accept. Remember that format conversion does not restore image information that has already been lost through lossy compression. For the best result, start from the original file and choose the format that fits the purpose of the image.
How to Reduce Image Size Without Making It Blurry
A common concern is that compressing a photograph will make it blurry or reduce its overall appearance. This can happen when the compression level is too aggressive or when the image is repeatedly saved using lossy settings. The solution is not necessarily to avoid compression altogether, but to choose a suitable combination of dimensions, format, and quality settings.
Begin with the highest-quality original available. If you compress a photograph that has already been heavily compressed, you may introduce additional artefacts and lose more fine detail. Original camera images or well-preserved source files provide more flexibility because you can create an optimized version without depending on an already degraded copy. Keep the original safely stored and use a separate version for the online application or website.
Next, consider whether the image’s dimensions exceed what the destination needs. Reducing unnecessarily large dimensions can help lower the file size without requiring the quality setting to be reduced as much. After resizing, choose an appropriate compression level and check the preview. RupaaCompress provides a quality slider as well as a target-size option, allowing you to approach the problem from either direction. If the destination specifies a maximum file size, target-size compression can be convenient. If preserving a particular visual appearance is more important and there is no strict size limit, quality-based compression may be more appropriate.
Pay particular attention to detailed areas, including faces, hair, small text, thin lines, and patterned surfaces. These areas can show compression artefacts sooner than smooth backgrounds. Compare the result with the original and check it at the size at which it will be used. The aim is not to preserve every subtle detail regardless of the file-size limit, but to maintain enough visual information for the image to perform its intended task.
What to Do If Your Image Is Still Too Large After Compression
Sometimes an image remains larger than the required size even after you have selected a lower quality setting. This can happen when the original has very large dimensions, when the target is extremely small, or when the selected format does not compress the image efficiently for the intended use. Instead of repeatedly lowering the quality without checking the result, review the image’s dimensions and consider whether a more suitable output format is available.
If the original is larger than necessary, open the RupaaCompress Resize Image tool and reduce the dimensions according to the destination’s requirements. Then return to the compression tool and process the resized image. This approach can sometimes produce a clearer result than forcing the original high-resolution image into an extremely small file. However, always use the original image as your source whenever possible, rather than compressing a compressed copy repeatedly.
You should also check the format requirement. A photograph saved in PNG may be much larger than a comparable JPG version, especially when it contains complex photographic details. If the destination accepts JPG and the image does not need transparency, converting it to JPG may help reduce the file size. Use the RupaaCompress Convert Image tool to prepare a compatible version, then verify that the resulting image is below the limit.
If the image still cannot meet the target without unacceptable quality loss, check whether the upload system allows a different format, dimension, or file-size range. Do not assume that the smallest possible file is always the correct result. The image must meet all the destination’s requirements while remaining clear and usable.
How to Compress Multiple Images to a Specific KB Size
Reducing one photograph is straightforward, but preparing a large collection of images can take much longer if you process each file separately. You might need to prepare several photographs for an application, reduce the size of product pictures for an online store, or create optimized copies of dozens of images for a website. Repeating the same process manually can be tedious and may lead to inconsistent settings across the collection.
Batch processing provides a more efficient approach. Instead of opening a separate workspace for each image, you select multiple files or an entire folder and apply the chosen settings to the group. This is particularly useful when all the images have similar requirements. For example, if a group of product photographs must remain below the same maximum file size, batch processing can help you prepare them using one workflow. You can then download the resulting files individually or together in a ZIP archive.
RupaaCompress supports batch processing and folder selection through its image tools. Its compression page provides a target file-size setting, format selection, quality adjustment, and ZIP download options. You can use these features to process multiple images for online uploads while avoiding the need to repeat every step manually. Visit the RupaaCompress Compress Image tool to explore the available settings.
Even when processing multiple images, inspect the output before using it. Different photographs may respond differently to the same compression settings. A simple image may compress easily, while a detailed photograph may require resizing or separate settings. If a specific file does not meet the requirements, handle it individually rather than sacrificing the quality of the entire collection.
Is It Safe to Use an Online Image Compressor for Personal Photos?
Privacy is an important consideration when preparing photographs for job applications, online registrations, personal documents, or business use. Some image-processing services require files to be uploaded to a remote server before they can be processed. Depending on the service’s design and policies, that can mean transferring personal or confidential image data outside your device. Anyone handling sensitive content should understand how a tool processes files before using it.
RupaaCompress states that its image tools process files locally in the browser without uploading image files to its servers. This means that compression is performed using your browser and device rather than requiring a file upload to a remote image-processing server. The site also states that its tools can continue working after the page has loaded, even if you disconnect from the internet. This approach can be useful when preparing private photographs or business images that you would prefer to keep on your device.
However, local processing does not automatically mean that every image is safe to publish. A photograph may contain visible personal information, and its metadata may include details such as the capture date, camera information, or GPS coordinates, depending on the device and original file. RupaaCompress states that its compression workflow strips EXIF and GPS metadata when processing images. This can help reduce the risk of unintentionally sharing location information, although it is still sensible to review the final file and retain the original if you need the metadata for your own records.
Before uploading a photograph to any website, check not only the file size but also the information shown within the image. For example, a photograph of a document may contain personal details that should not be exposed unnecessarily. Compression changes the file size, but it does not automatically conceal information that remains visible in the photograph itself.
Common Mistakes When Reducing Images to a Specific KB Size
One common mistake is focusing only on the file-size limit while ignoring the other requirements. An image may be below 100 KB but still be rejected because it is in the wrong format or has unsuitable dimensions. Before processing a photograph, read the instructions carefully and confirm the accepted file types, maximum size, and any minimum or maximum pixel dimensions. If the destination requires an exact aspect ratio, prepare the image accordingly rather than assuming that compression alone will solve the problem.
Another mistake is compressing the same file again and again. Repeated lossy compression can gradually degrade the photograph, particularly when the settings are aggressive. It is better to return to the original source and make a new compressed copy using more suitable settings. If the target is difficult to achieve, consider resizing the original first instead of repeatedly lowering the quality of an already compressed image.
A third mistake is selecting a target size that is unnecessarily small. If a form accepts images up to 200 KB, you may not need to reduce the file to 50 KB. A smaller file can be useful, but excessive compression may remove details without providing any additional benefit. Choose a size that satisfies the destination’s rules while preserving suitable quality.
Finally, some users forget to check the file after downloading it. Always confirm that the image has the correct extension, that the actual file size meets the requirement, and that the photograph remains clear enough to use. If the image is important, keep the original file in a separate folder so that you can create another version if the first attempt is unsuitable.
Frequently Asked Questions About Reducing Image Size in KB
How can I reduce image size to 200 KB online for free?
You can use the RupaaCompress image-compression tool to prepare an image for a 200 KB limit. Select your image, enter 200 in the target file-size field, choose an output format accepted by the destination, and process the file. Check the resulting size and quality before downloading it. If the image is still too large or looks blurry, consider resizing the original before compressing it again.
How can I reduce a photo to 100 KB without losing quality?
Start with the highest-quality original available, select a suitable format, and use target-size compression. If the original has excessive pixel dimensions, resize it according to the destination’s requirements before compressing it. Lossless preservation of every original pixel is not always possible when a photograph must be reduced to 100 KB, so inspect the result to make sure the remaining image quality is acceptable.
How can I compress an image to 50 KB?
Enter 50 in the target-size field of a compatible image compressor and process the photograph. Because 50 KB is a relatively small target for many photographs, you may need to reduce the dimensions first. Check whether the target website actually requires 50 KB, and make sure the image remains clear enough for its intended use.
Why is my image still too large after compression?
The image may have excessively large pixel dimensions, may contain complex detail, or may be using a format that produces relatively large files for that kind of content. Try resizing the original image first, then compress it again using a suitable format and target size. Avoid repeatedly compressing the same output because additional lossy compression can reduce visual quality.
Does reducing image size change the resolution?
Not necessarily. Compression can reduce file size without changing the image’s pixel dimensions. Resizing, on the other hand, changes the width and height in pixels. If a website specifies both a maximum file size and exact dimensions, you must meet both requirements.
Which format is best for a small photograph?
JPG is often suitable for ordinary photographs because it can provide relatively small files and has broad compatibility. PNG is useful for graphics and images that require transparency or lossless representation. WebP can be an efficient choice when the destination accepts it. The correct format depends on the image’s content and the receiving system’s requirements.
Can I reduce an image to 20 KB?
It may be possible, depending on the original image and the required dimensions. However, a 20 KB target can be very restrictive for a detailed colour photograph. You may need to resize the image and select appropriate compression settings. Make sure that the result remains usable and complies with the destination’s specifications.
Is RupaaCompress free to use?
RupaaCompress describes its image tools as free to use without a signup requirement. Its tools support compression, resizing, cropping, conversion, watermarking, rotation, flipping, and photo effects. You can explore the available options through the RupaaCompress website.
Are my images uploaded to RupaaCompress?
According to the website, image processing occurs locally in your browser, and image files are not uploaded to its servers for processing. The site also states that the tools can continue working offline after the page has loaded. For sensitive photographs, you should still review the website’s privacy information and inspect the image before sharing it elsewhere.
Reduce Image Size Easily with RupaaCompress
Reducing image size to 200 KB, 100 KB, 50 KB, or another specified limit is easier when you understand how file size, image dimensions, format, and quality work together. The most effective method is to read the destination’s requirements first, start with a good-quality original, select a suitable format, and use target-size compression where possible. If the image cannot meet the required size without excessive quality loss, resizing it appropriately may help. Always inspect the output before using it and preserve your original file whenever you may need a higher-quality version later.
RupaaCompress brings these tasks together in a browser-based collection of image tools. The Compress Image tool helps you work toward a specified KB target, the Resize Image tool lets you adjust pixel dimensions, and the Convert Image tool helps you prepare compatible output formats. If you need to crop a photograph to a required shape, the Crop Image tool provides another useful option. Together, these tools can help you prepare photographs for online forms, job applications, websites, email attachments, and other common image-upload tasks.
Instead of guessing compression settings or repeatedly trying to upload a file that is too large, start with the actual requirements and create a version that meets them. Visit RupaaCompress to prepare smaller image files directly in your browser and make your next image upload simpler and more efficient.